Editing Multiple Records in Rails

I recently had a requirement to create a single form with data from more than one record. This is a simple request, but I had never done it before in Rails.

After experimenting for a while (and reading quite a few forum posts and StackOverflow answers) I came up with a working solution. Hopefully this will save someone a little time in the future.

First, let’s create a simple Rails app for managing users. Each user will have a first name, last name, and e-mail address. I’m using scaffolding to generate the code.

rails new multi_edit
cd multi_edit
bundle install
rails g scaffold User first_name:string last_name:string email:string
rake db:migrate

Next, add the new routes for editing all users. I tried to stick to the RESTful convention with these. I’m just using the word ‘all’ in place of the :id.

match 'users/all/edit' => 'users#edit_all', :as => :edit_all, :via => :get
match 'users/all' => 'users#update_all', :as => :update_all, :via => :put

Now, let’s add the edit_all method to our UsersController to get started. The only thing it needs to do is get all users.

def edit_all
  @users = User.all
end

Next, we build the form for editing all users.

<%= form_for :user, :url => update_all_path, :html => { :method => :put } do %>
  <table>
    <tr>
      <th>First Name</th>
      <th>Last Name</th>
      <th>E-Mail</th>
    </tr>
    <% @users.each do |user| %>
      <%= fields_for "user[]", user do |user_fields| %>
    <tr>
      <td><%= user_fields.text_field :first_name %></td>
      <td><%= user_fields.text_field :last_name %></td>
      <td><%= user_fields.email_field :email %></td>
    </tr>
      <% end %>
    <% end %>
  </table>

  <div class="actions">
    <%= submit_tag %>
  </div>
<% end %>

The interesting part of this code starts around line 9. As expected, we iterate over the users with @users.each.

The next line tells Rails to name the fields for each user with array notation. For example, user_fields.text_field :first_name will output a text field named user[1][first_name].

The params hash will include a ‘user’ key that contains a hash of information for each user. The key for each of these hashes will be the user id.

Now that we know what the params will look like, it’s pretty straight-forward to write the update_all method.

def update_all
  params['user'].keys.each do |id|
    @user = User.find(id.to_i)
    @user.update_attributes(params['user'][id])
  end
  redirect_to(users_url)
end

We iterate over each key in params['user'], then find and update the user associated with that id. I am leaving error checking as an exercise for the reader…

The complete source code for this simple application is on my GitHub page at https://github.com/anthonylewis/multi_edit
A Better Looking Terminal

I spend a lot of time in the Mac OS X Terminal.app. Unfortunately, the built-in color schemes are all pretty terrible. I can’t stand to look at any of them for more than a few minutes.

So, one of the first changes I make on a new Mac is to update the default color scheme. It’s surprisingly easy to make something much easier on the eyes than the Basic theme. Here’s how I do it.

  • On the Terminal menu, click Preferences
  • Click Settings on the toolbar

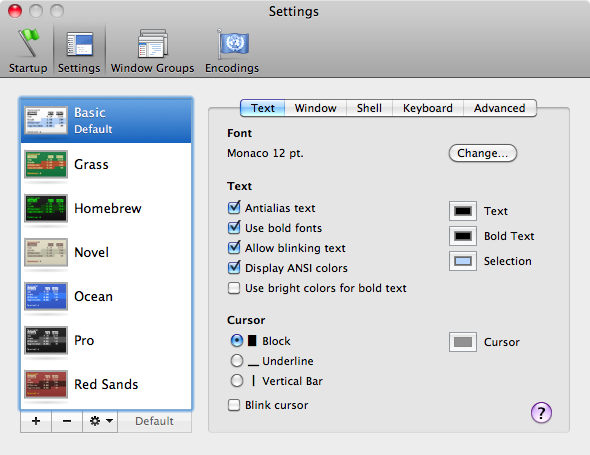
  • Make sure the Basic theme is selected
  • Now click the Gear, then Duplicate Settings
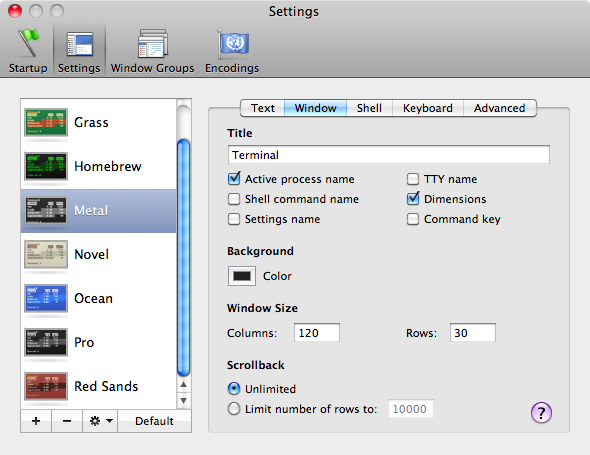
  • Type the name Metal

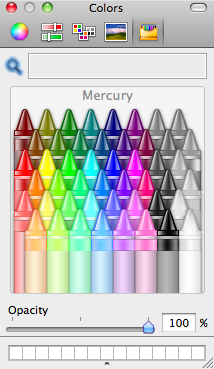
  • On the Text tab, change the Text and Bold Text colors to Mercury and the Selection color to Steel

  • On the Window tab, change the Background Color to Lead

  • Finally, click the Default button

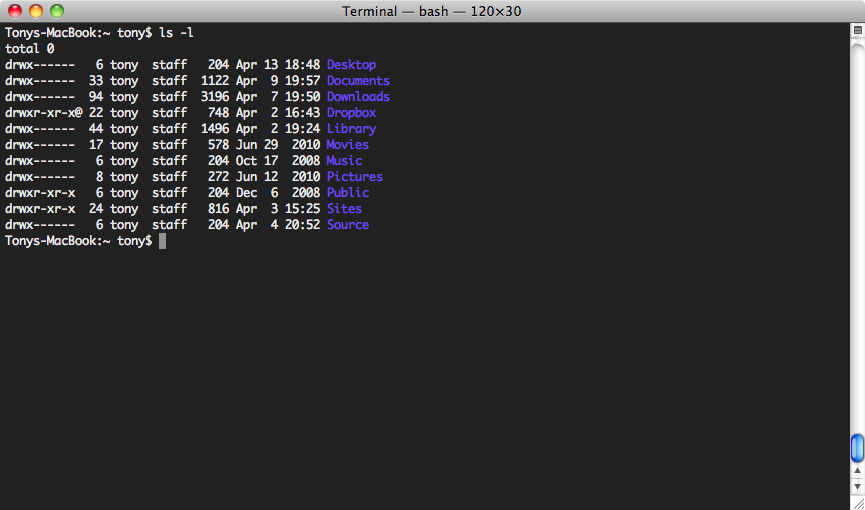
When you open a new terminal, you should see something that looks
more like this:

Now that is something I can work with for a while.

Rails on Rackspace Cloud – Part 2

Part one covered setting up a new Ubuntu server and getting Ruby 1.9.2 up and running with rvm.

Now we will finish the setup with a Firewall, MySQL, Apache2, and Phusion Passenger.

Setting Up the Firewall

Before we install the database and other services, lets get the firewall set up. On Ubuntu, I like to
use the Uncomplicated Firewall – UFW.

sudo apt-get install ufw

That will install the firewall. Now set the defaults, add some rules, and enable the firewall.

sudo ufw default deny
sudo ufw allow ssh
sudo ufw allow http
sudo ufw enable

To see the current rules, you can check the status.

sudo ufw status

Now the only ports open to the internet are SSH (22) and HTTP (80).

Installing MySQL

Now that we’re a little more protected from the outside world, lets install the database.

sudo apt-get install mysql-server mysql-client libmysqlclient-dev

And install the mysql2 gem.

gem install mysql2

Remember to ‘rvm use 1.9.2’ if you didn’t set it as the default.

Installing Apache and Passenger

The database is ready to go at this point, now we need a web server.

sudo apt-get install apache2 libcurl4-openssl-dev apache2-prefork-dev \
                     libapr1-dev libaprutil1-dev

That will install Apache2 and the extra development packages needed by Passenger. Now install the Passenger gem.

gem install passenger

Now we’re ready to install the Passenger Apache2 module. Note, this doesn’t actually install anything. It just builds the module and gives instructions for updating the configuration.

passenger-install-apache2-module

Now we need to create a new module load file to tell Apache about Passenger.

sudo vim /etc/apache2/mods-available/passenger.load

Here are the contents of passenger.load. The first two lines should be all on one line.

LoadModule passenger_module /home/testapp/.rvm/gems/ruby-1.9.2-p180/gems/
    passenger-3.0.5/ext/apache2/mod_passenger.so
PassengerRoot /home/testapp/.rvm/gems/ruby-1.9.2-p180/gems/passenger-3.0.5
PassengerRuby /home/testapp/.rvm/wrappers/ruby-1.9.2-p180/ruby

If we did everything right, we can enable the Passenger module now.

sudo a2enmod passenger

Now we need to set up our virtual host under sites-available.

sudo vim /etc/apache2/sites-available/testapp

Here are the contents of that file. You will obviously need to replace the xx.xx.xx.xx with the IP address of your server.

<VirtualHost *:80>
  ServerName xx.xx.xx.xx
  DocumentRoot /home/testapp/testapp/public
  <Directory /home/testapp/testapp/public>
    AllowOverride all
    Options -MultiViews
  </Directory>
</VirtualHost>

Disable the default web site and enable our new test application.

sudo a2dissite default
sudo a2ensite testapp

Setup a simple Rails App

Create a simple Rails application in your home directory just to make sure everything is working.

rails new ~/testapp
cd ~/testapp
bundle install
rake db:migrate RAILS_ENV=production

Finally, reload the Apache2 configuration.

sudo /etc/init.d/apache2 reload

Go to your server’s IP address in your browser and you should see the default Ruby on Rails index page.