This is my recipe for starting up a new Rackspace Cloud Server and getting it set up for hosting Ruby on Rails applications.
Part one will take you from a new server to a working installation of RVM and Ruby. Part two will cover installing MySQL, Apache and Phusion Passenger.
If you don’t already have an account with Rackspace, I encourage you to go over to
http://www.rackspace.com/cloud/ and check them out.
I prefer Ubuntu Linux, so let’s start with that.
Starting a New Server
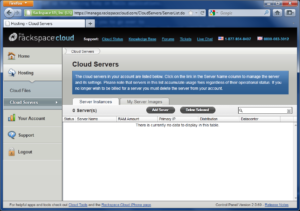
First, sign in to your Cloud Control Panel, then click Hosting, Cloud Servers.
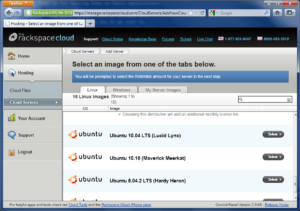
Click the Add Server button, scroll down to Ubuntu 10.10 (Maverick Meerkat), then click the Select button.
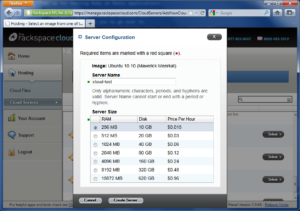
Now type in a server name and select how much RAM you’ll need, then click the Create Server button.
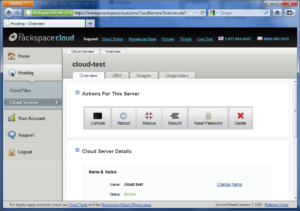
After a short wait, your new server should be ready to go. You will receive an e-mail with your new server’s IP address and root password.
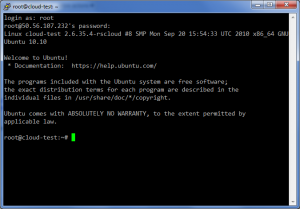
Connect to the IP Address with SSH, log in as root with the password provided, and lets get started.
Initial Login
The first thing you should do at this point is change the root password.
passwd
Type in your new root password twice. Now let’s add a new user account.
adduser testapp
Type in the information for your new user. Add the new user to the sudo group so you can execute commands as root.
adduser testapp sudo
Now that we have a new account to use, we need to deny the root user access via ssh. This will stop people trying to brute-force our root password.
vim /etc/ssh/sshd_config
Find the line that contains “PermitRootLogin” and change the value from “yes” to “no”. Restart the ssh server when you’re done.
/etc/init.d/ssh restart
We have set up a new user account with sudo access and denied root login via ssh, so let’s log out for now.
logout
New User Login
Now reconnect with your new user account and let’s make sure all of our software is up to date.
sudo apt-get update
sudo apt-get upgrade
This should be really fast. Rackspace’s internet connection puts mine to shame.
Installing RVM
Next, we’ll install git so we can install rvm.
sudo apt-get install git-core
Now copy and paste the command below to install rvm:
bash < <(curl -s https://rvm.beginrescueend.com/install/rvm)
Once this finishes, you will see a lot of instructions for setting up rvm as well as a nice “Thank you” from Wayne.
rvm automatically creates a file called .bash_profile in our home directory. This causes bash to skip loading
the regular .profile.
The only thing in .bash_profile is rvm configuration, so let’s just delete it…
rm .bash_profile
and add the configuration to .profile instead.
vim ~/.profile
Add this line at the very bottom:
[[ -s "$HOME/.rvm/scripts/rvm" ]] && . "$HOME/.rvm/scripts/rvm"
Finally “source” your .profile file so the change will take effect.
source ~/.profile
Installing Dependencies
Now we’ll install the rest of the packages we need to build ruby. RVM can provide us a list of needed software.
rvm notes
Look at the line starting with “For Ruby” to get a list of dependencies.
sudo apt-get install build-essential bison openssl libreadline6 \
                     libreadline6-dev curl git-core zlib1g zlib1g-dev \
                     libssl-dev libyaml-dev libsqlite3-0 libsqlite3-dev \
                     sqlite3 libxml2-dev libxslt-dev autoconf libc6-dev \
                     ncurses-dev
Again, this shouldn’t take long.
Installing Ruby
We’re finally ready to install Ruby.
rvm install 1.9.2
We have Ruby 1.9.2 now, let’s use it.
rvm --default use 1.9.2
Installing Rails
Now that we have Ruby set up, we’re ready to install Rails. It should be as simple as this:
gem install rails
Note that when you’re using RVM, you do not have to precede this with “sudo”.
After another short wait, you should be all set.
Verify that the ruby and rails commands work as expected. In part 2 we’ll setup MySQL, Apache and Passenger.
